We are always on the lookout to find ways to improve our service – inquiries big or small. We respect and understand your time is precious and have created a quick and simple guide to help assist you to get the product you need – quicker!
During our inquiry process – it maybe suitable to send us a few images of the battery pack you are currently using, this allows us to find the best possible solution, whether it’s a refurbishment or a full pack replacement.
You can send them to us via email at info@cellpacksolutions.co.uk or directly to the email address of one of our battery specialists, if you are already in discussion with one of them.
When taking photographs of a battery pack we ask for a minimum of 4 photographs of the pack itself. These are shown in the Custom Battery Pack Image Request Example as photos B-E. We ask for a number of photographs to give us a better understanding of the battery pack without having to request sending it in to us. Saving time, additional costs and a little friendlier to the planet.
When taking photographs please try to make the photos as clear as possible. If possible please remove the battery from its device so we can see it in full.
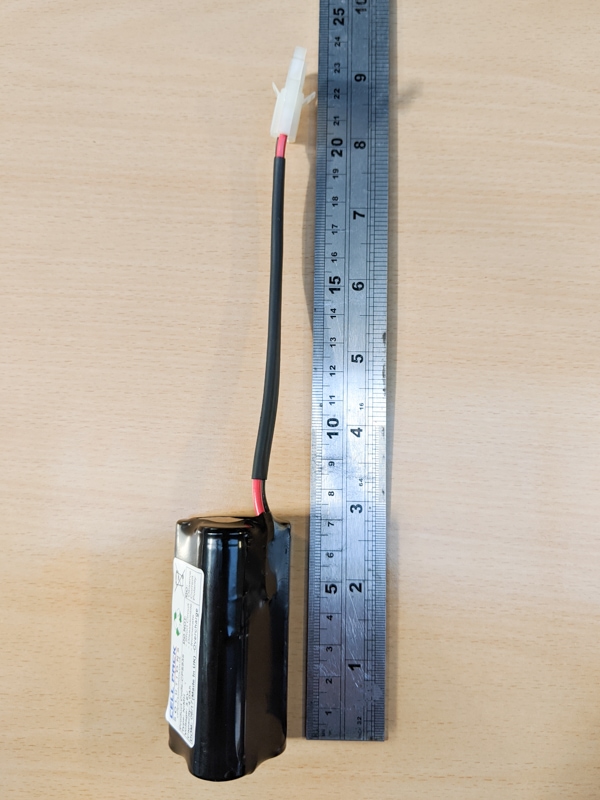
It is advised to place a ruler next to the batter pack. This helps us determine the cells used, lead length etc. If a ruler is not available, a coin or other common object can be used.
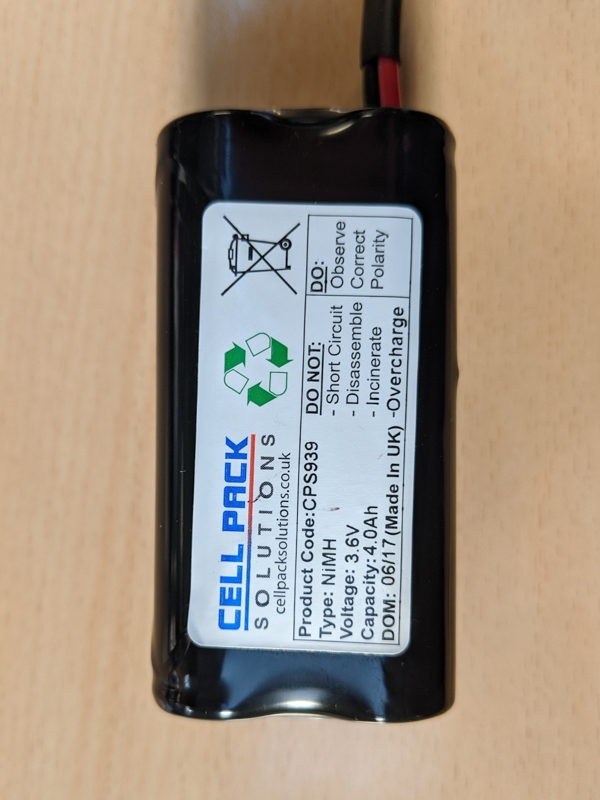
A clear photo of the label is important. Often a battery pack will have a code which will tell us exactly what it is. If not, we can use the label to determine the chemistry, voltage and capacity.
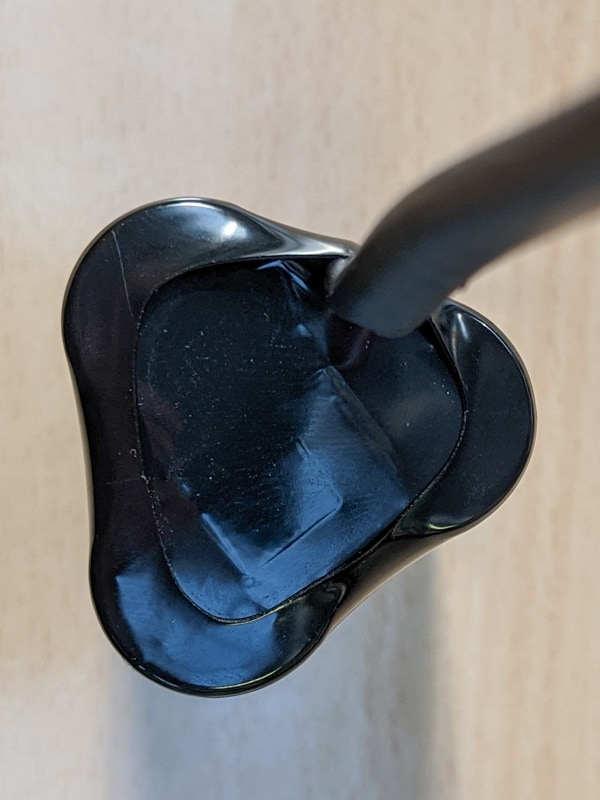
Taking a photo from the top and bottom gives us a better understanding of the pack configuration.
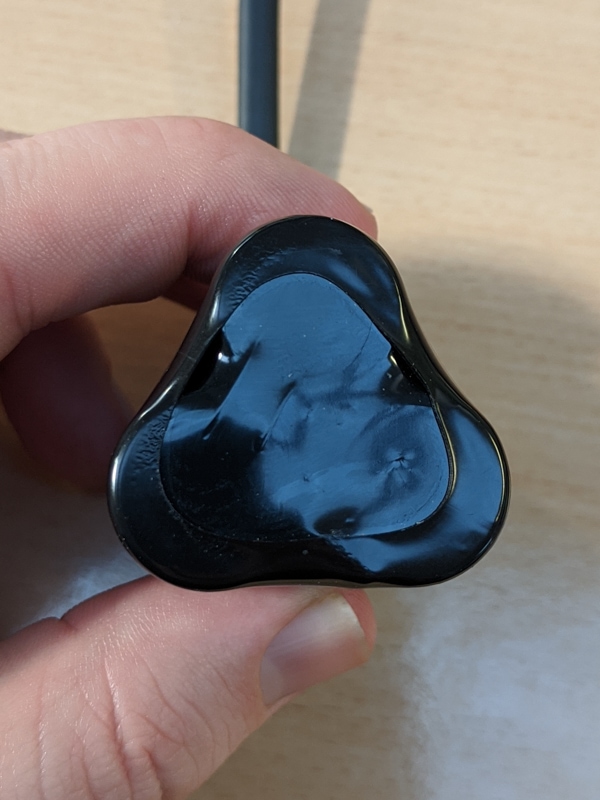
It also sometimes gives us an understanding of any extra components underneath the sleeving. If you can see any other indication of components underneath the sleeving, please provide photographs.
As well as photos of the battery part of the pack, we also need a number of photos of the connector. If the battery doesn’t have a connector and has flying leads instead, the length and thickness of the wire must be given.
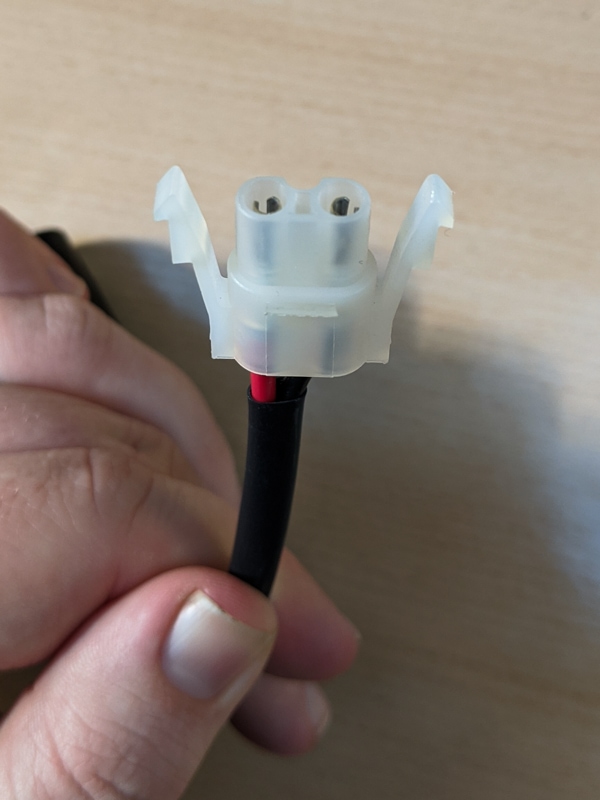
Close up photos of the connector allow us to better determine the correct connector type.
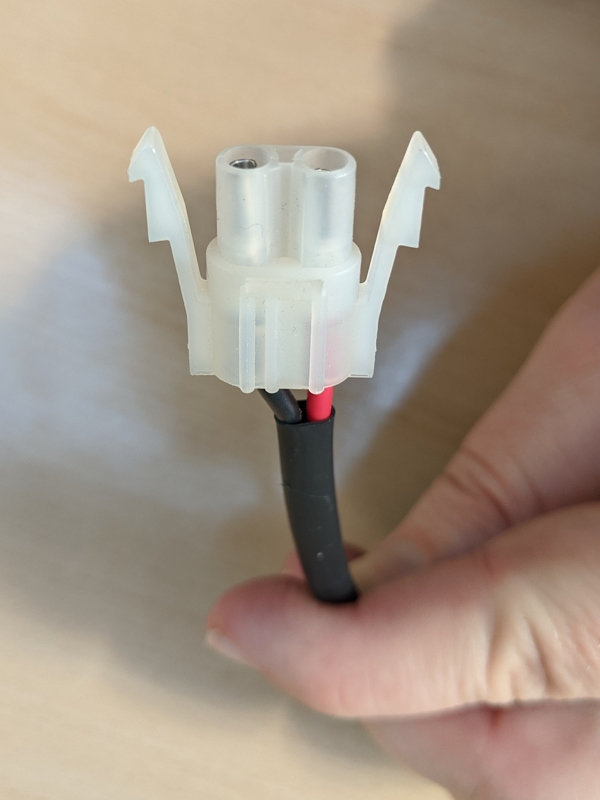
Front and back views give us a better understanding of the connector used.

If there is any markings or serial codes on the connector please inform us.
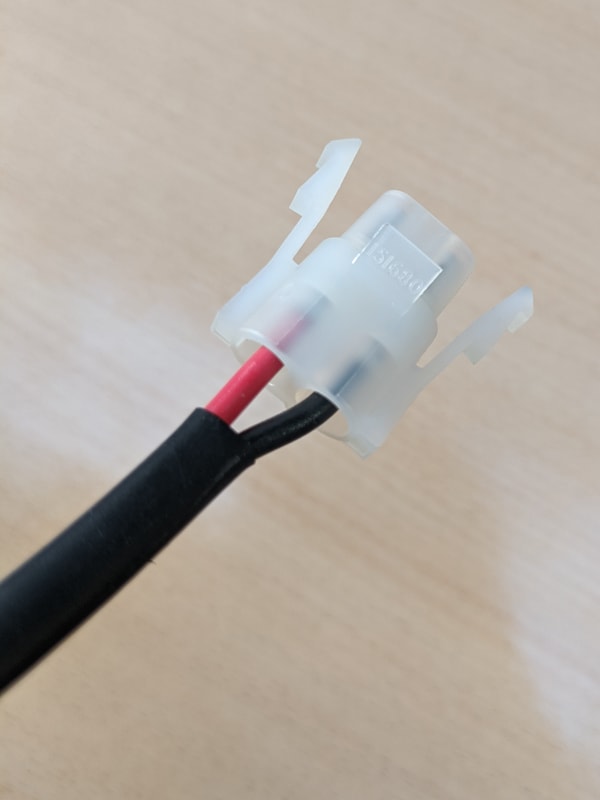
It is important to understand the termination of the wires into the connector to ensure correct polarity.